

February 25, 2015
•Last updated November 5, 2023
The Real Job Description of a Web Designer
Over the course of a century, the job description of a web designer has continuously evolved. Never before has it been so unclear as to what exact roles or requirements are needed to be a successful web designer. Anymore, it’s more than just design but also research, development, programming, user experience and more. This post discusses how the real job description of a web designer has evolved and how to better educate what the role actually should entail.
The Web Designer a Century Ago

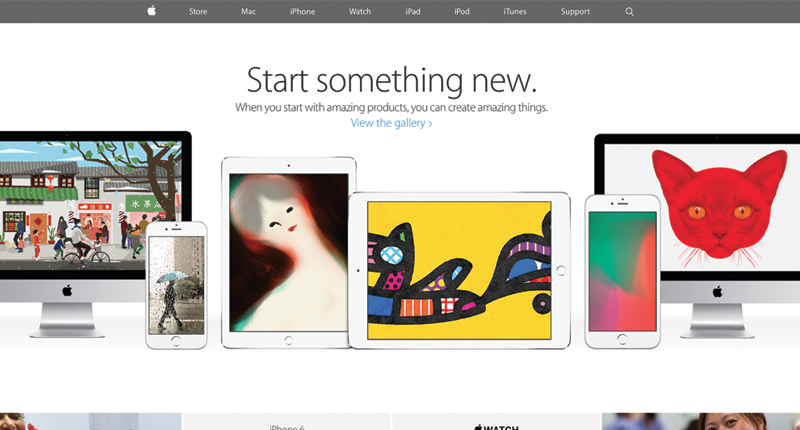
Apple's website 2005 via https://archive.org/web/
Not ten years ago the web was a completely different place. In terms of design, different trends were in and others were not even upon us. Fewer resources for constructing progressive websites existed and the web community had just started creating some buzz.
A designer's role was more focused on the “design”. At this point in time, it wasn’t expected of a designer to know how to code or even understand it. While knowing at least the basics could benefit a web designer, many websites were made without this principle.
Tools and Inspiration
Adobe Photoshop was the tool of choice for designers who built websites layer by layer within a PSD. Most designers of this age strived to create pixel-perfect designs for each area of a website to pass along to a developer to turn to code. This process was the “norm” which, as you’ve seen by today’s standards, has changed significantly.
A huge inspiration toward creating more visually engaging websites was brought forth thanks to Apple. With the iPhone and iPod becoming so mainstream in society more and more designers began to understand that good design sells. In theory, a website should be no different than a product; as a result, some amazing work was produced.
CSS Pre-Processwhat?
CSS Pre-Processors simply didn’t exist a decade ago. Designers who could code did so the long way. Sure it worked well but little did they know that it would all change before long.
Enter Skeuomorphism
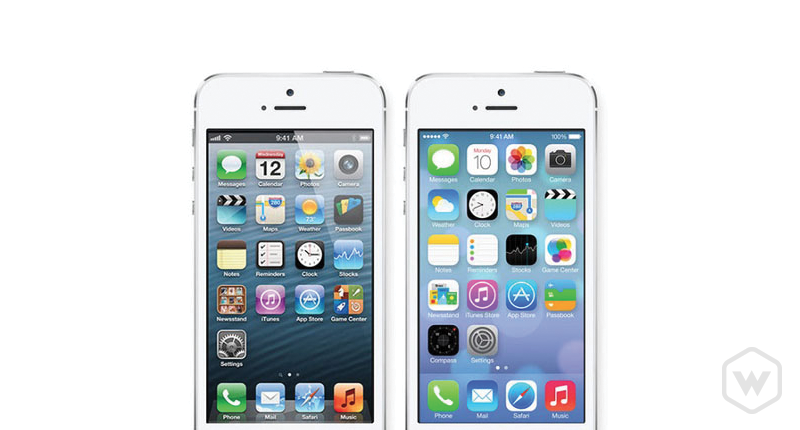
Skeuomorphism is best described as creating elements that look like real-world objects. This concept was more or less introduced globally by Apple with the new user interface design of apps like Calendar, Find My Friends, Game Center, and more. Elements such as textures, stitching, shadows, and more made objects on your phone or tablets screen seem all that more real. This approach carried over into nearly any design for the screen.
From this point forward a new trend was born with web design until the unveiling of iOS7 where the new trend of flat design was globally established again just like Apple did before. Lately, Google has had its own impact with Material Design creating a much similar trend with the industry.
Everything inherited from Apple or Google has lead us to now. This has changed the way a web designer a century ago has to work in terms of scalability. More applications are being launched every day and delivering the most gratifying experience to any user is the app maker’s primary concern. Applications need to be able to scale to millions of users. Ever heard of Facebook? That site was started by one person. Now it is run by over 7,000 people who work together to touch roughly 890 million lives in a typical day[1]
The Web Designer of Today
Having Skeuomorphism behind us and both flat and material design in front of us, there’s no telling what trend will be next in the world of design. It’s both exciting and scary for the modern-day web designer. It is scary for the fact that it may lead to more work on our end and exciting because it may open the door to more creativity.
A modern web designer’s role is much more advanced than it used to be. No longer is it just about focusing on the design of the website but also how the design leads towards to development and scales from there. Choosing specific languages to code with, frameworks to utilize, browsers to support and more are many of the decisions a designer of today needs to know upfront. In many cases I play both the roles of a web designer and web developer. Doing this allows me more control and less clutter down the line as my design comes to life within code. This also helps you gain more clientele so they won’t need to contract another person to take on either design or development.
Below, I’ll use my process as an example of what I think a modern-day web designer must do to achieve success with any new project. This process works for me so I can’t say it will work for you but I strongly suggest outlining your own process to help you stay on track when multiple projects are going on and you find yourself at a loss because you’re simply all over the place. Keep in mind that every project is different. Things happen that might require you to contract another party or decide to abandon ship. I advise you to think things through before first committing to anything for all fairness between yourself and the client you have decided to work with.
Okay, away we go...
Step 1: Plan ahead
Establish what kind of website you are building and ask yourself (and your client) basic questions to understand the needs, have to have, and want of the project. Before even talking with the client think about your questions and make sure they are worth asking. You don’t want to seem like you don’t know what you are doing nor do you want the client to lose faith in you. Be personable and not a robot. Consider trying to incorporate some comedy in the mix to break the ice if communication seems a little difficult at first. Some sample questions:
- Will the website need to be responsive?
- What assets do we have to work with (images, icons, copy)? Will the be scaleable?
- What’s your favorite type of donut?
- What browsers would you like to support if not all?
- What timeframe will the project need to be completed by?
- What are the competitors doing?
- Does the budget allow for custom design / development work or do they just want something based around a framework.
- If you could be any power ranger, what color would it be and why?
You’ll probably notice a few goofy questions thrown in the mix. I do this to lighten the mood. You don’t want to make it seem like work to the client. They came to you for help so you’re letting them know that all is well with the sense of confidence in place.
Step 2: Sketch your ideas
We live in a world where most information is exchanged digitally which is both awesome and annoying (at least for me). It never hurts to get out a pad and pen and quickly mark down ideas or wireframes to get things off to a good start. If you are designing an elaborate website such as an e-commerce site then I insist on wireframing a good portion of this out on my own projects. Something like a signup or login process needs to be thought through before any design is produced. You don’t want to go to build the site and suddenly realize you’ve forgotten something crucial. Adding it later may work but it may affect the design and just look out of place which is a pain.
Step 3: Turn your sketches into a Style-Guide or Inspiration Board
At this stage, you can’t expect complete designs to begin flowing out of your head and into the browser. Many designers these days go straight to the browser to begin designing making use of frameworks such as Foundation or Bootstrap to speed things up. I personally go the opposite, (older way) and open up Photoshop or Sketch and begin putting the design on that infamous blank canvas. For my work to shine, I need to typically spend good amounts of time on design to get the overall feel of the website. This usually includes the home page or landing page design and a few interior pages. Basically, the pages that need to look customized get more treatment at this point.
Before I begin a more refined design I create a style-guide or theme for the entire website. I typically start with typography and move towards color palette, button styles, form styles, and anything else that may be required.
A great free resource to those interested is called Style Tiles which was created by Samantha Warren. This resource inspired me to work in such a way before committing to designing high fidelity designs within Photoshop or Sketch.
Get Your Assets In Gear
Once a design is complete or at least far enough along that I can finish the rest in the browser and my code editor, I start moving everything to code. Assets this day in age need to scale. I do my best to use SVG for practically anything other than images inside my designs and you should too. This way I know down the line if I need to change sizes or layout I can do so with ease all while being non-destructive.
Step 4: Building It
Once the assets are ready I create a new project on my local machine which includes the necessary pages to start. I’m not a huge fan of pre-defined frameworks like Foundation or Bootstrap but I have been known to use bits and pieces of them. It saves time sure but what sells me is that you know if works and has been tested cross-browser.
I write Sass as opposed to traditional CSS, Less, or Stylus. I prefer it over the rest for my own tastes. You can use whichever language you prefer to get the job done. All of them are powerful. Some are time savers and others are just plain cool to use.
Since Sass needs to be compiled to regular CSS I typically use CodeKit to optimize my CSS, JavaScript, Images and more. Why CodeKit and not Grunt or Gulp? Well, I typically am a one-man show. I have used both Grunt and Gulp before but something about CodeKit just makes life easier when designing and developing websites or apps. Why should I spend half a day setting up my Gulp config file or Grunt config file just to do the same things CodeKit does automatically?
Most answers to that question would be related to scalability which is where CodeKit falls short. Grunt and Gulp are great for teams. Using version control and either of the two task runners will give the same results across the entire team. If you were to try this with CodeKit, you could do so, but each person would need a license to the software and be on a macintosh system which is limiting. Sorry for the small aside there but I had to let that out!
Step 5: Testing? Testing? Is This Thing On?
The best way to confirm if something is working is to test it. It seems simple right? This part of the project can make or break all of your progress. You must test your work. Testing for a website can be of many types. This could be usability testing, code verification, cross-browser support, responsiveness, and more. If the results come back and something just isn’t working right it’s at this stage where something’s got to change. Hopefully, the change isn’t a massive hurdle but at least you have solid confirmation as to why the changes need to take place.
Step 6: Backups and Versioning
Since I am a one-man show I typically use Dropbox as my versioning tool. I keep my local installation of a website stored on my system within my Dropbox folder. This gives me the ability to work wherever I like which is wonderful. There are times where I use Git to version my code and create branches to try new features or a different style for something but it’s only on larger projects or projects I am collaborating on.
Step 7: Consultation and Billing
Now comes the time to present my work to my client. Doing so takes some visual explanation that can happen in person, on the phone, or within an app like Invision which I’m a huge fan of.
I also make use of Basecamp as a hub for all the dealings of the project. It’s an easy place to communicate and be apart of a team even when no one is actually in front of you. Here the client can post comments, thoughts, inspiration and more to help me do a better job long term.
I use an application called Ballpark for billing. It tracks time, creates invoices, and provides analytics for all of my projects. I’m only scratching the surface for the product. Be sure and check it out if you haven’t already. I bill my clients per project usually but some prefer to work hourly.
All of the billing and costs on a per-project basis is approved upfront by my clients. I require payment at specific milestones of a project before moving forward. If the client doesn’t pay then work halts. If they do pay then work continues.
Step 8: That’s a Wrap
Wrapping up a project requires delivering some assets or pushing a website live. I do this all after my client has paid in full. Delivering files can be as simple as sharing a link to them on Dropbox or committing code to their private repo on Github. From there, if the website is complete the client can decide to keep in touch for future updates or maintenance. I usually ask for a testimonial if the project went well to help win new clients. If the client gave permission I will post the work and link to the project on my own portfolio to also aid in winning new clients.
Through my process above, I tried to offer a real-life use case of a web designer working now as opposed to one working many moons ago. Technology has changed as well as the web community. New projects have been developed to make building a website easy for anyone but hopefully, web design isn’t a dying art. Here’s to the future of web designers like myself who live to build what we do for years to come!
